|
|
WRX AWD
Subaru "Scooby"

|
This
is the next project. A
Subaru WRX AWD. A friend gave this kit to me without
a box, but this top above should be about the right one.
Tamiya made several differnt versions of the boxes.
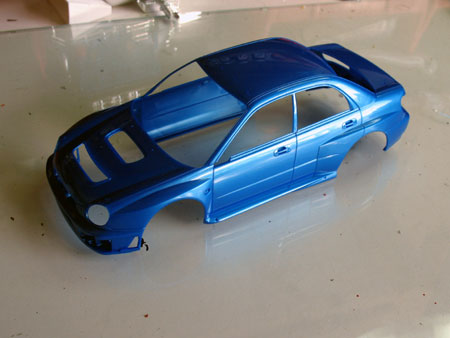
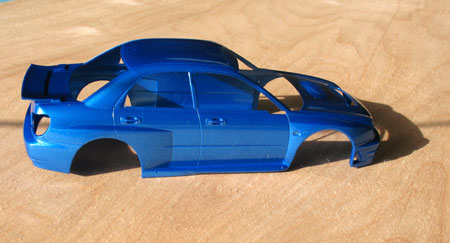
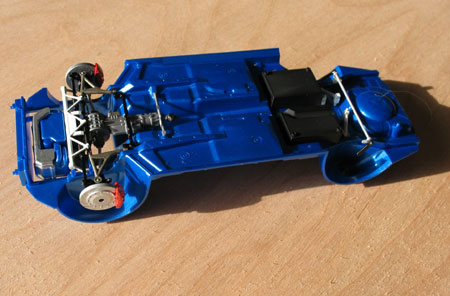
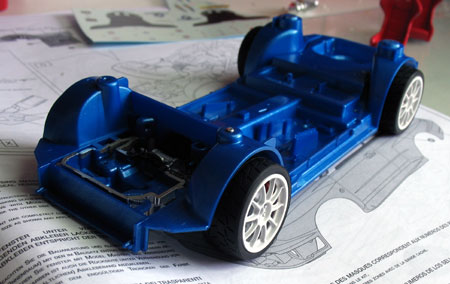
The
body is molded in a metallic blue plastic. But it had a
few swirls in the plastic, so I painted it Tamiya Metallic
Blue, about the same color as the plastic, just a hair darker
in tone.
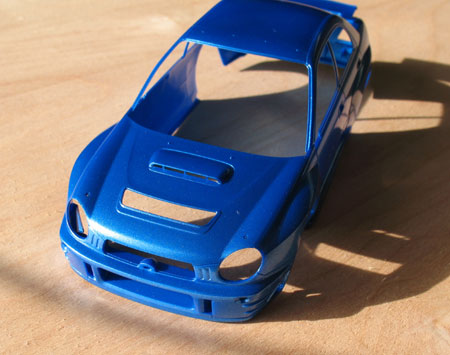
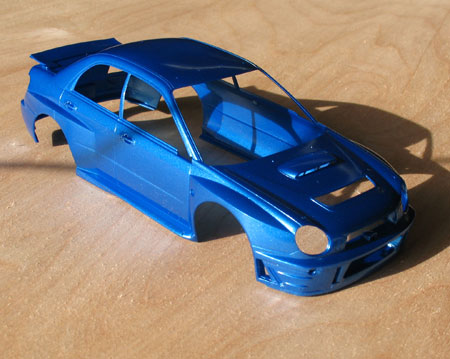
I
didn't use or need any primer. There are a couple of choices
in the kit for the hood scoop, and rear wing. I made my
choices, and glued them on prior to painting.
|
|
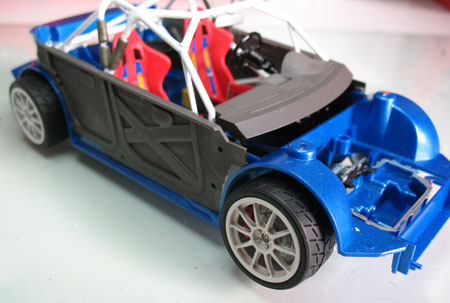
Here
I have done some work on the front suspension. The engine
consists of a bottom half in appearance only, it's not a
full engine. (The hood does not open on the kit anyway).
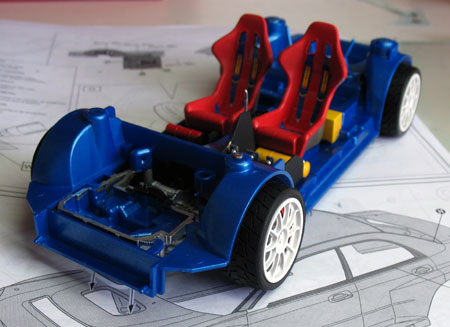
But
you can do some detail painting to it, as I did using the
directions as a guide. Some of the suspension components
cover it all up.
I've
installed the brake rotors, rack & pinion, and other
various suspension parts. I painted the calipers red, though
that's not the correct color on the real race version WRX.
In
this photo, a couple of the rear suspension parts have been
installed as well. These were all painted following the
painting guide in the instructions (though I do paint things
differently if it suites me).
|
| |
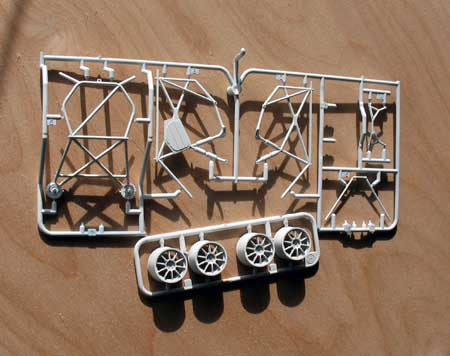
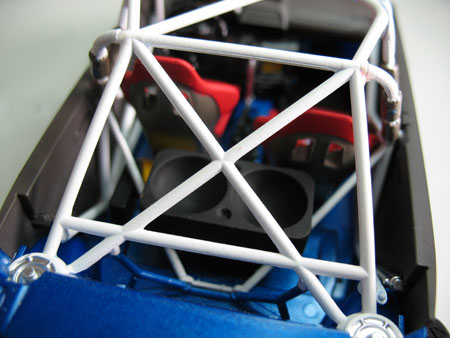
This
is the tree with the roll bar assembly. I wanted to paint
it white to make it visible within the car. And it will also
match the wheels on the car. |
|
| |
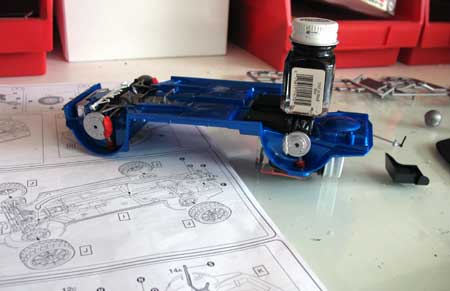
Here
the rear suspension assembly is together. That's a bottle
of paint resting on top, the axle did not want to stay put,
so a slight weight on it will let it setup properly and
true.
|
|
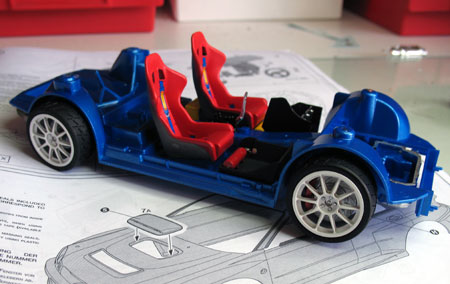
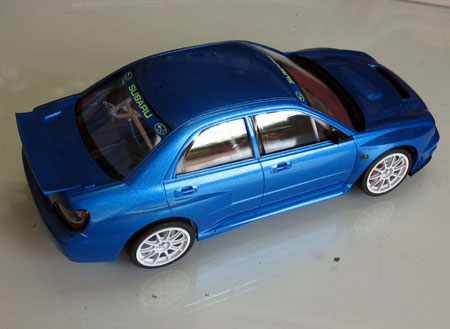
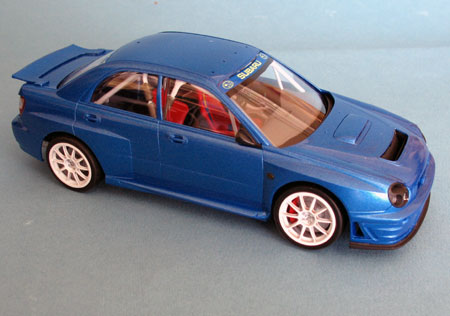
Subaru
WRX AWD.
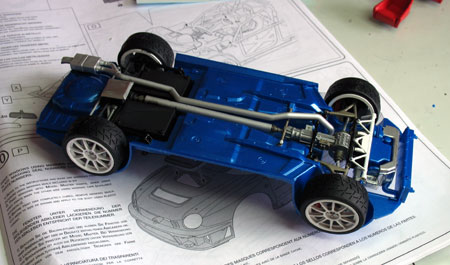
Here
I have added the wheels and tires. One note here: I slid
on the back wheels, and then I couldn't get them off without
braking the rear end assembly. So, now the rear disc brakes
don't have any detail painting done to them
I
also had issues with getting the front wheels on, and broke
the front suspension. I was able to put it all back together,
but next time I will do this another way.
I
recommend double checking all the holes where the wheel
axles slide in, removing any paint, maybe even oiling them
a bit to make the slide on easy. And don't put the wheels
on until you are sure you want them on. Getting them back
off is not really an option. |
| |
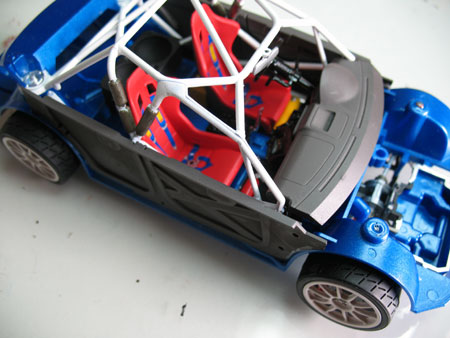
While
not accurate for a race car, on this street version, I wanted
the seats to be red. I painted them gloss red, them hit
them with some Testors Dullcote.
The
kit included some decals to replicate a carbon fiber pattern
on the back of the seats. I was unable to get the decals
to lay to my satisfaction, so I painted the back with a
color resembling metal.
The
decals for the seatbelts went on fine, and I like the way
they look on the red. |
|
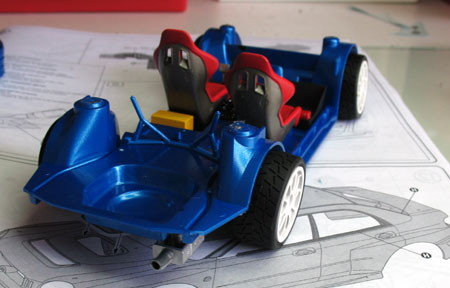
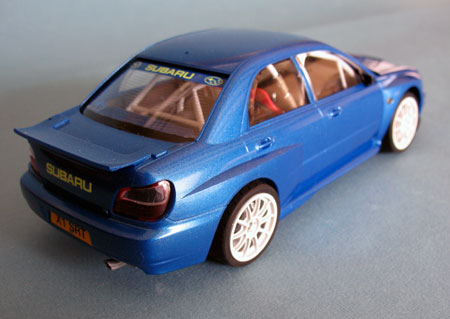
These
are just some pictures as I finish up the interior.
| |
The
next steps deal with the outside. Also some of the radiator
and engine bay parts.
Facia
and lights to be added. Windows to be done. |
|
|
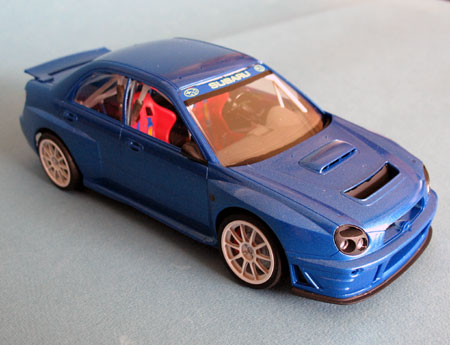
Not
a bad kit, and I like WRXs.
As
mentioned before, the wheels can be fiddly, but if you are
careful with those issues, the rest of the build is worth
the kit.
I
did this as a modified street version, so I did not want
to use all the (gaudy) racing decals.
Makes
a nice Corvette killer doesn't it?
|
|
|


